green front door

DIY: Painting your Front Door for Fall

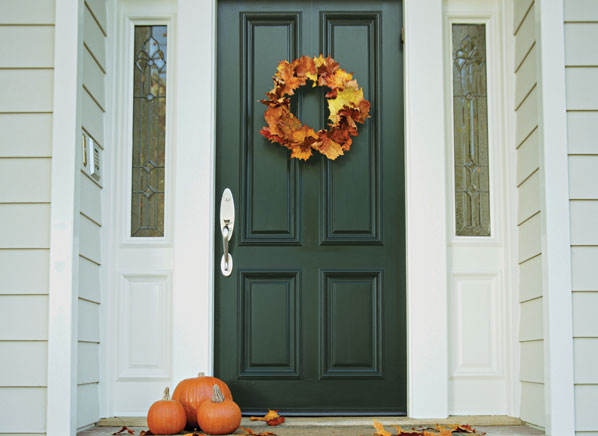
With Fall now here, that means it’s holiday season. Time to get your homes prepped and ready for family and friends to gather for lots of food, fun, and love. Many of us still have the same standard wooden doors from when we first bought our homes however many years ago so how about a simple and cheap upgrade that you can do yourself? 

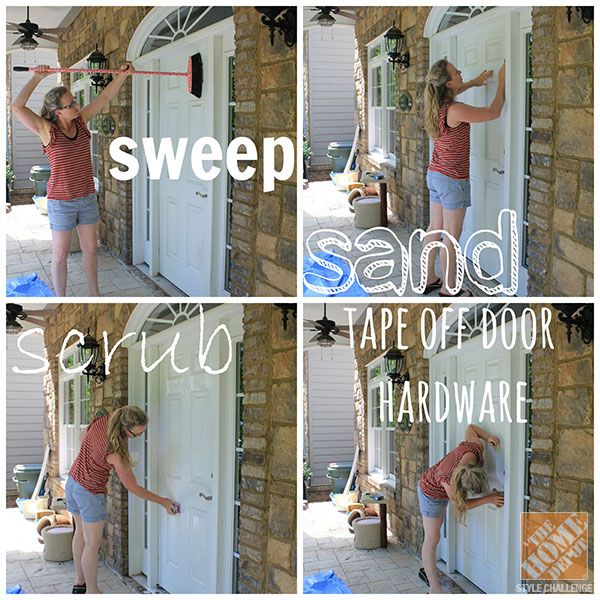
Here is a simple 5 step tutorial on painting your door from the diynetwork:

1. When to Paint

Set aside time ā€” perhaps a weekend ā€” to select a color, purchase supplies and complete the task. Clear, sunny days with reasonable temperatures ā€” which are conducive to allowing paint to dry ā€” are the ideal choice.

2. Choosing a Color

Taping paint chips to your existing door is one way to choose a color. If you have narrowed down the selections to two or three choices, you may also want to purchase small samples of paint to compare a larger swatch of the colors next to one another. Be sure to look at the swatches at different times of the day to see how the color changes as the light brightens and dims.

3. What Paint to Use

Make certain you use exterior paint. While you can choose any finish, glossy paints are typically preferred for doors and trim, because they stand out and highlight these architectural features. They also tend to stand up to nicks and scrapes better than flat or eggshell paint, meaning they could last longer. The most important thing to note is whether you have a latex- or oil-based paint. This is especially important for touchups, as you never want to paint oil over latex paint or vice versa. The type of primer you use also needs to match the type of paint you use (latex or oil-based).

4. Prep Work for Painting

You can paint your door in place or remove it from the hinges if you have a storm or glass door to protect your home and keep bugs and debris from floating into your home. You can also tape a tarp over the opening if you prefer to remove your door to paint.  Whether you paint your door in place or on sawhorses, you will want to remove all the hardware.

Secondly, youā€™ll want to clean the door with a wet rag, and then use a sander or sandpaper to remove any imperfections. Be sure to wipe away the dust from sanding before painting.

5. How to Paint

Start by applying the primer. Cover the door completely. You can use a roller for this application. When the primer is dry, use a paintbrush to go over any trim work or details on the door. Next, itā€™s finally time to paint. You can use a low-nap or foam roller or a paintbrush for this. A paintbrush will give you a nice ā€œhand-paintedā€ look. Even if you use a roller, you can use a brush for the final coat to achieve this look. Allow the door to dry completely before reattaching the hardware and rehanging the door, if you removed it to paint.

Of course, not everyone is great with DIY projects so if you find yourself overwhelmed, give us a call. We’ll be happy to help get your home holiday ready.